Hi!
A modern systems engineer deals with many different systems: virtual machines, cloud instances, workstations, a bunch of network equipment. And it is nice to know if the critical infrastructure is up and running smoothly.
That is where the Zabbix Server might come in handy.
In this article, I will show how to install the Zabbix 5.0 Server on a CentOS 8 machine.
Experience level: Associate.
To save some typing, I will be working under the root account.
The server needs Apache, Mysql, and PHP to be pre-installed.
Apache:
dnf install -y httpd httpd-toolssystemctl enable --now httpdMySQL server:
dnf install -y mysql mysql-serversystemctl enable --now mysqldIt strongly recommended (although it is not a necessary step) to tighten MySQL server installation with the post-install script:
mysql_secure_installationAnd follow the process.. My answers to the script’s questions:
VALIDATE PASSWORD COMPONENT Yes
Password validation policy 2 (STRONG)
Please set the password for root here.
Remove anonymous users? Yes
Disallow root login remotely? Yes
Remove test database and access to it? Yes
Reload privilege tables now? Yes
PHP-Module:
dnf install -y https://dl.fedoraproject.org/pub/epel/epel-release-latest-8.noarch.rpmdnf install -y dnf-utils http://rpms.remirepo.net/enterprise/remi-release-8.rpmdnf module list phpdnf module enable -y php:remi-7.4dnf install -y php php-opcache php-gd php-curl php-mysqlndsystemctl enable --now php-fpmNext step is to enable connectivity to our HTTP server through the default firewall:
firewall-cmd --permanent --add-service=httpsystemctl restart firewalldThese are all preparations we needed, and it is time to install the Zabbix Server:
rpm -Uvh https://repo.zabbix.com/zabbix/5.0/rhel/8/x86_64/zabbix-release-5.0-1.el8.noarch.rpmdnf clean alldnf install -y zabbix-server-mysql zabbix-web-mysql zabbix-apache-conf zabbix-agentConfiguration Steps
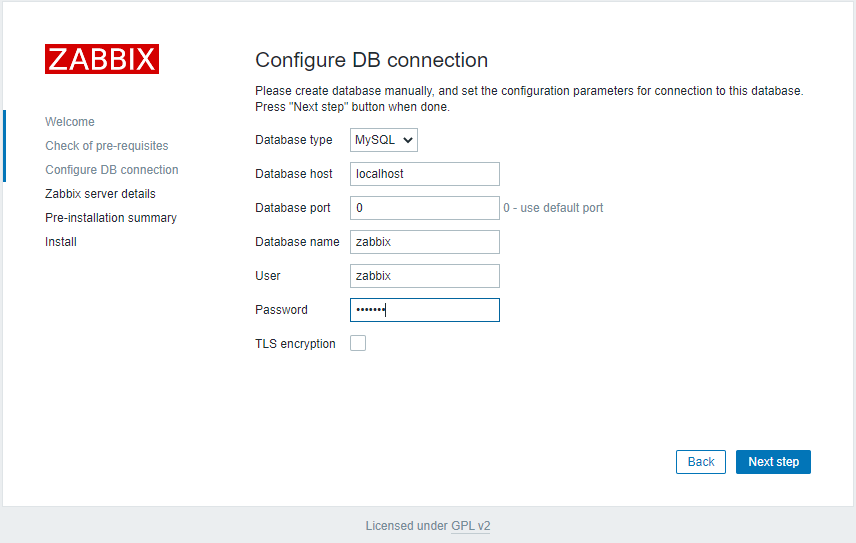
MySQL database, user, and privileges:
mysql -u root -pcreate database zabbix character set utf8 collate utf8_bin;Don’t forget to change the string with the right password:
create user zabbix@localhost identified by 'YourPasswordHere';grant all privileges on zabbix.* to zabbix@localhost;flush privileges;quit;zcat /usr/share/doc/zabbix-server-mysql*/create.sql.gz | mysql -uzabbix -p -D zabbixEditing the configuration files (you can do it with your favorite text editor). Don’t forget to use the right password and timezone (special symbols should be shielded with \ in a “sed” sting, if there are any, including the ones in your password ):
sed -i 's/\# DBPassword\=/DBPassword\=YourPasswordHere/g' /etc/zabbix/zabbix_server.confsed -i 's/\; php_value\[date.timezone\] \= Europe\/Riga/php_value\[date.timezone\] \= Pacific\/Auckland/g' /etc/php-fpm.d/zabbix.confAnd we are ready to start the server:
systemctl enable --now zabbix-server zabbix-agent

We can see what exactly is blocked from the output of the command:
tail -f /var/log/audit/audit.logTo create a permissive policy for the process (will take some time for the second command to finish execution):
grep AVC /var/log/audit/audit.log* | audit2allow -M systemd-allowsemodule -i systemd-allow.ppOpening the necessary ports through the firewall:
firewall-cmd --permanent --add-port=10050-10051/tcpAnd restarting all the affected services:
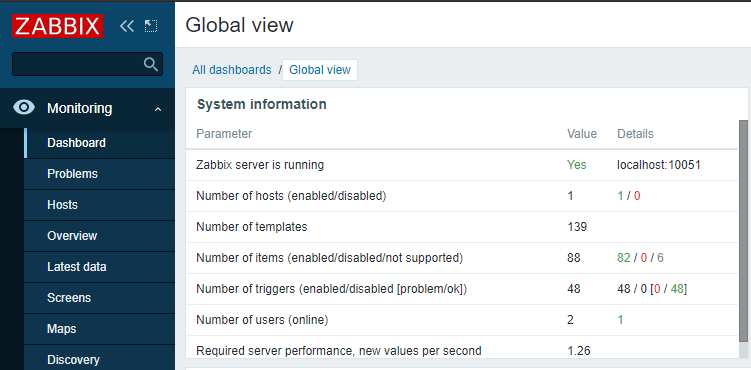
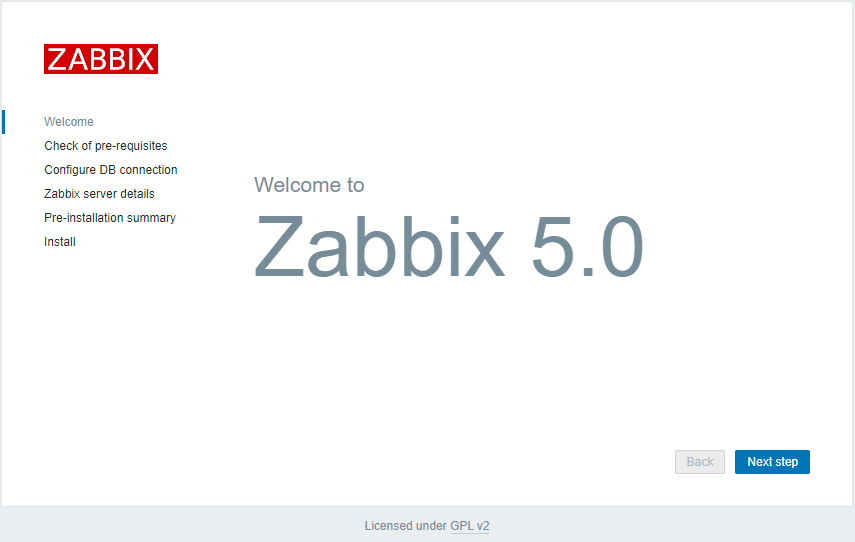
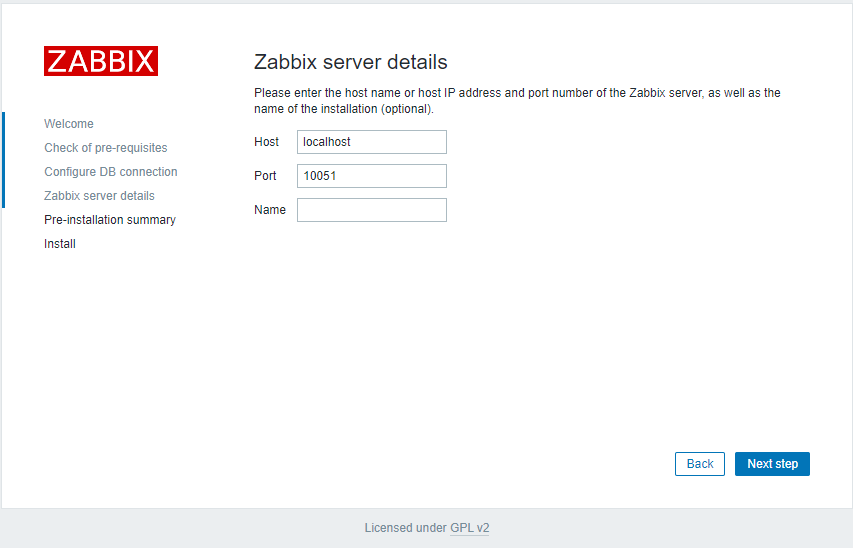
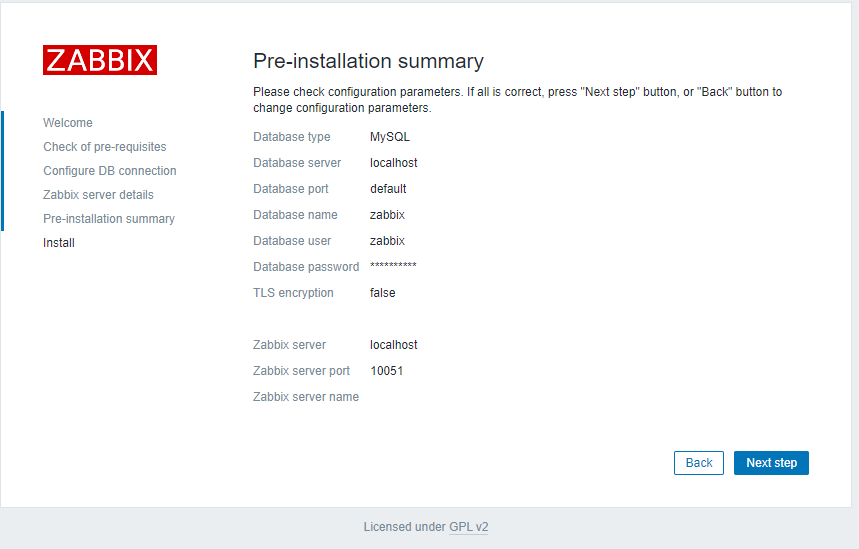
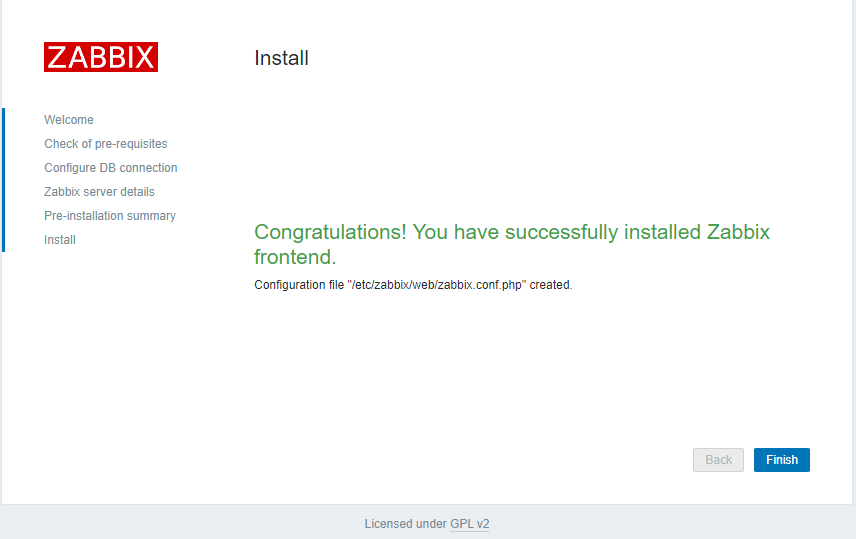
systemctl restart firewalld php-fpm httpd zabbix-agent zabbix-server Perform further configuration with your web-browser (http://your-ip-address/zabbix):

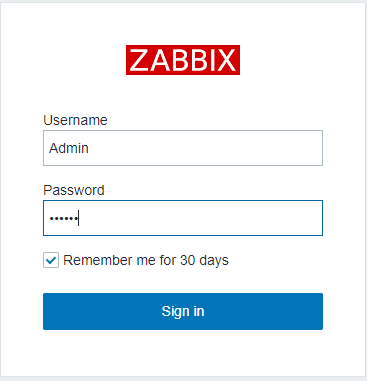
The default username (Case sensitive!):Admin
The default password is:zabbix
For some mysterious reasons my php-fpm module ended up being blocked as well, fixing:
grep AVC /var/log/audit/audit.log* | audit2allow -M php-fpmsemodule -i php-fpm.ppAnd that’s it!