Hi!
Every system engineer needs a sandbox for creating and testing configurations. In this article, I am going to explain how to create a simple environment using Oracle VirtualBox in Windows 10.
Experience level: Beginner.
The installation of VirtualBox is pretty straightforward and needs no special explanations. Just type in Google “VirtualBox download” and download the latest package from the virtualbox.org website. After the download completed, follow the installation master.
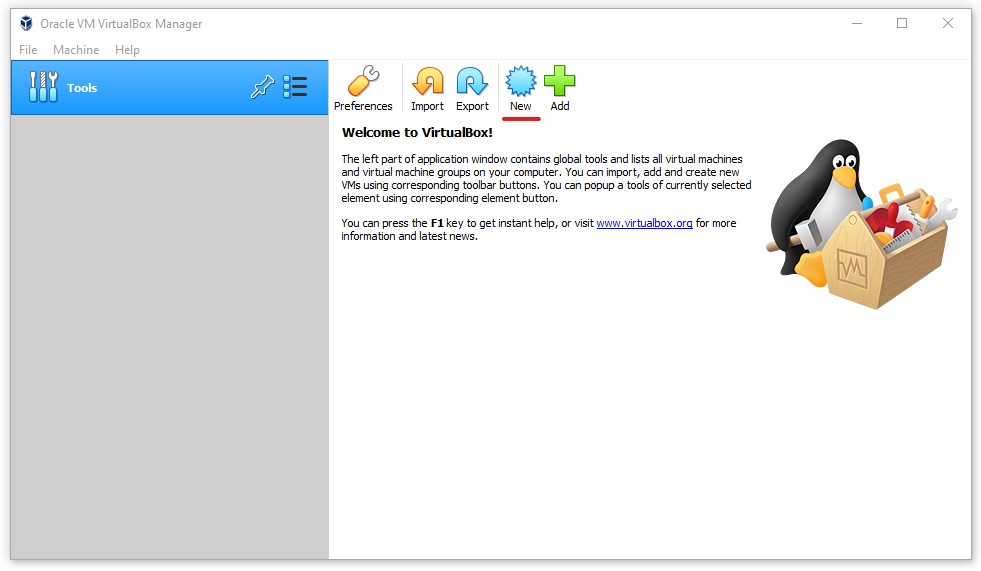
To create your first virtual machine, open the program and click on the “New” button (or press “Ctrl” “N” keys combination simultaneously).
- Type the name of your VM (it is a good idea to give it some sensible name after its role, for example, maybe even give it a version number).
- Choose the place for it on your hard drive.
- Select type and version (based on the distro you are going to use).
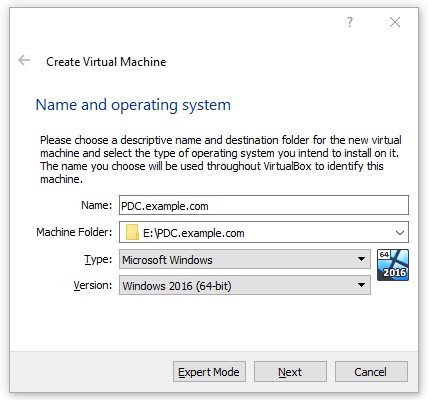
In my case, this VM is going to be Primary Domain Controller for example.com domain (do not use the domain name of the network you are creating the VM in if it will have bridge interface) placed on top of a Windows Server 2016 (64 Bit).
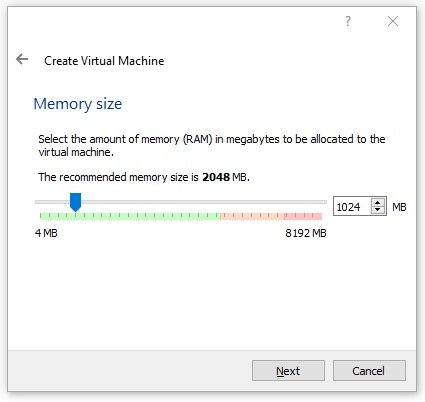
After you press the “Next” button, you will see the window where you can specify your VM RAM. If you are running your VMs on an SSD drive, for Windows XP, 7, Server 2008 256-512Mb should be enough. For Windows 8, Vista, 10, Server 2016-19, modern Linux distros with GUI you’ll need 1024-2048Mb and higher amount of RAM. Do not forget to spare at least 2 GB of RAM for your Host OS. You can adjust these numbers later.
Next thing to do is to add a virtual hard drive for your system, so tick “Create a virtual hard disk now” in the next window and hit the “Create” button.
Default VDI (VirtualBox Disk Image) suits us perfectly fine, so go next.
The “dynamically allocated” disk option is the best choice for most of the situations (except for some cases when you are building a certain kind of Windows Server Failover cluster, for example).
It allows you to spare your physical hard drive space, allocating space for the virtual machine gradually as needed.
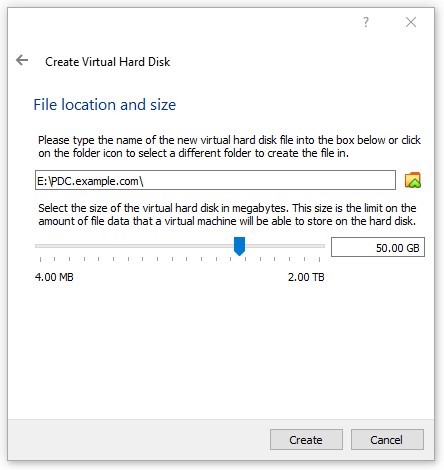
As long as you have chosen the “dynamically allocated” option, 50 GB is the maximum available size for the disk.
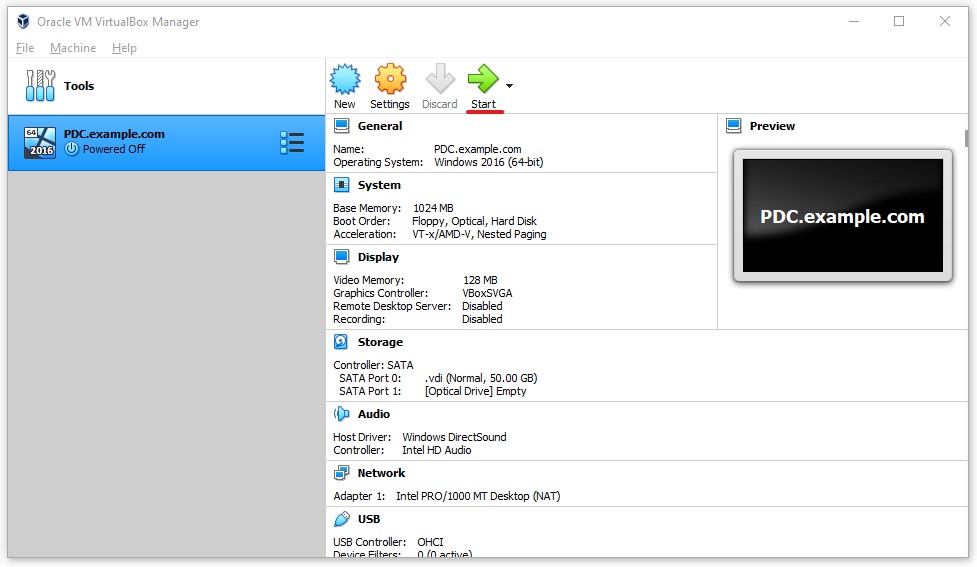
After you hit the “Create” button you are ready to start your VM.
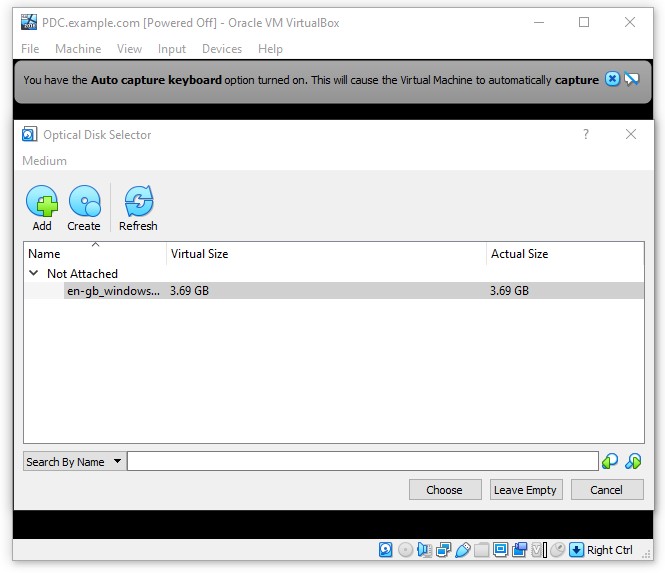
The virtual machine is a simulation of a PC on top of your host operating system, so you need to treat it accordingly, and after the POST (Power-ON Self Test), we need something to boot from. As long as your new VM is empty, you’ll need an ISO image of the OS you have chosen earlier.
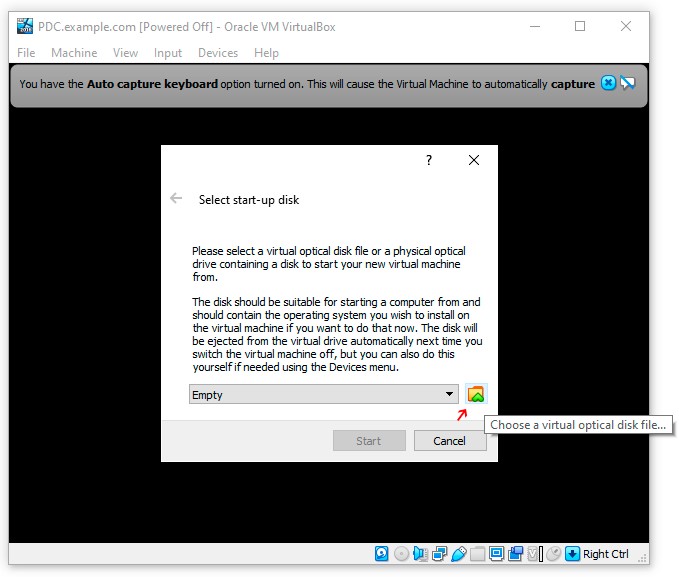
In the next window press “Add”, then select the iso image on your hard drive, hit the “Choose” button, push the “Start” button finally, and follow the installation master.