Experience level: Beginner.
Hi,
On some point, it is getting difficult to maintain a peer-to-peer network while your organisation is growing. Managing all those user accounts, permissions, shared resources and network printers can be tedious in this peer-to-peer network.
That is where Active Directory can come in handy. It is a centralized administration point of a computer network which stores all the data about the network resources and allows to organize them in a hierarchical order.
Let’s get ourselves an Active Directory Domain Controller!
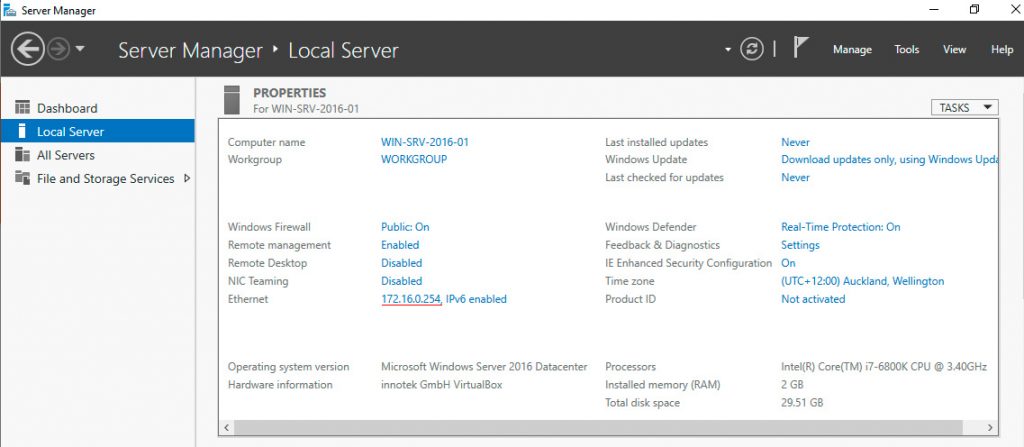
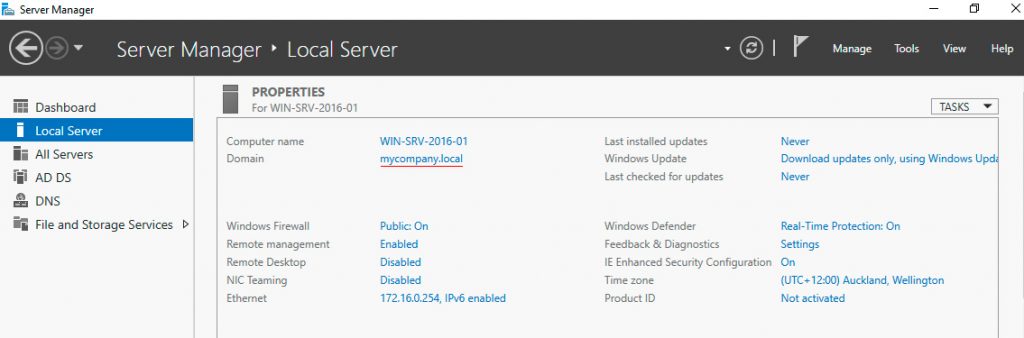
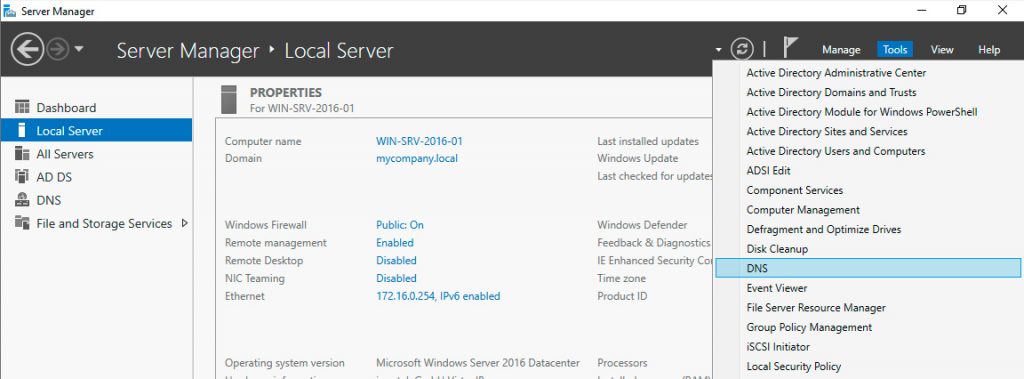
It is also a good practice to have the DNS (Domain Name System) server for your network on the same machine as your primary domain controller. So we need to make some preparations before the main part – open your Windows “Server Manager Dashboard” and then the “Local Server” page.
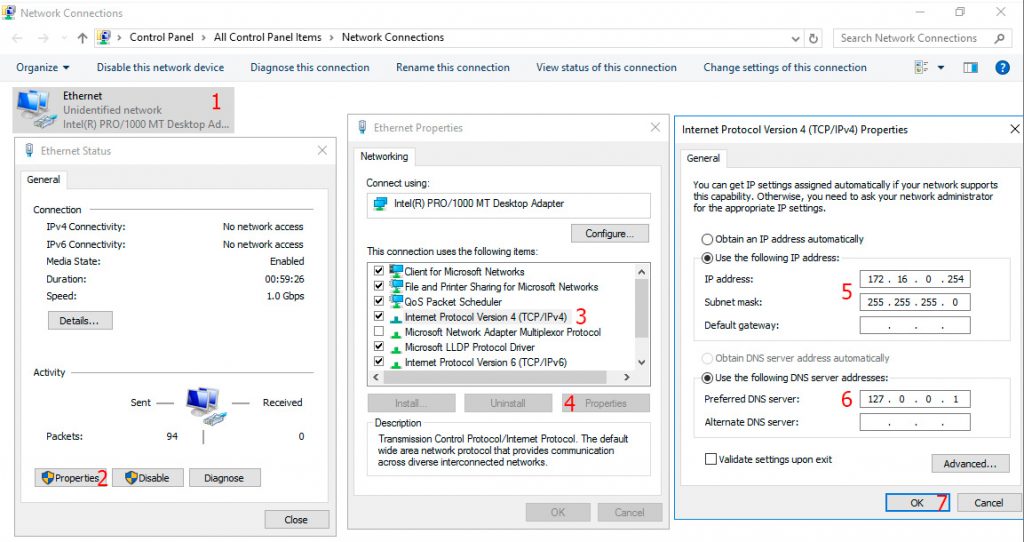
- Double click on your Local Area Network Interface Card name
- Single click on “Properties”
- Highlight “Internet Protocol Version 4 (TCP/IPv4)” with a single click and make sure the checkbox is ticked
- Single click on “Properties”
- Set the server IP protocol credentials (in my case the server has no access to the Internet for the security reasons)
- Set the “Preferred DNS Server” field as localhost (127.0.0.1). This means that all the DNS queries the server will address to itself
- Save the settings
Now we good to go to the next step.
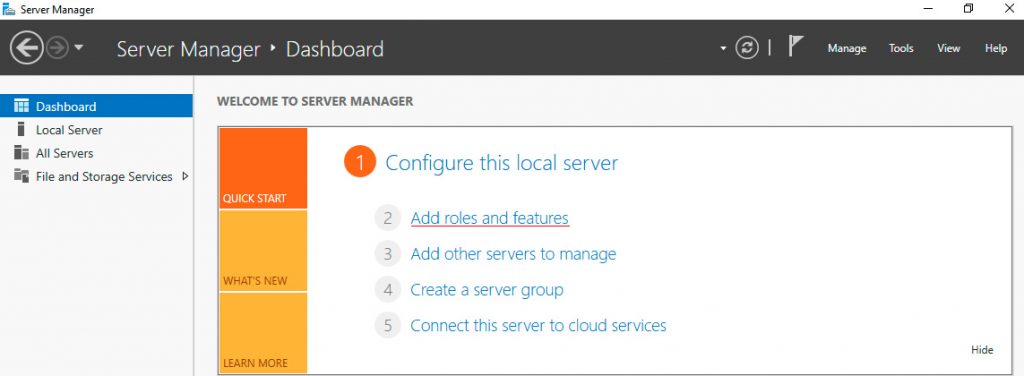
This will open a wizard to guide you through the process. It is alright to use the default settings for the first three pages (considering you have your network configured already on the server, and you are installing the role on the local server).
On the “Server Roles” page tick the “Active Directory Domain Services” checkbox and click “Add Features” in the pop-up window.
Repeat the previous step for “DNS Server” and hit “Next”
I will leave everything “as is” on the next four pages and press “Install” on the last one. This can take a few minutes – a good chance to arrange yourself a cup of coffee =)
When everything is done close the wizard and press the yellow flag in your “Server Manager Dashboard”
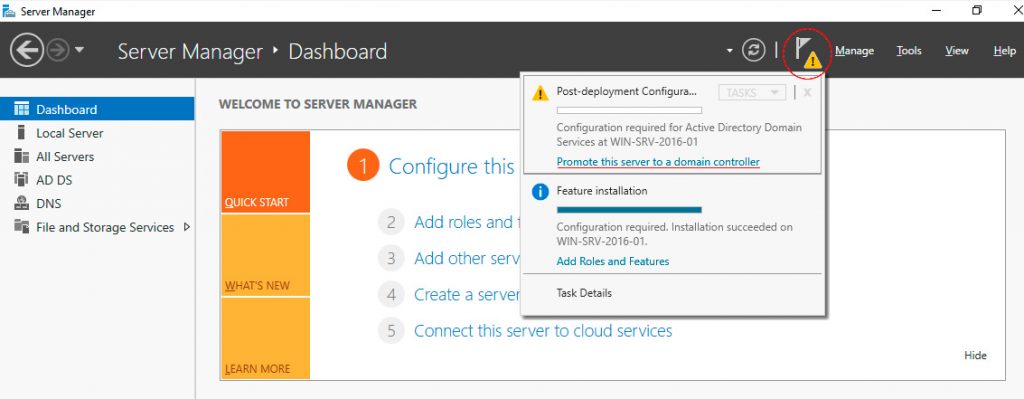
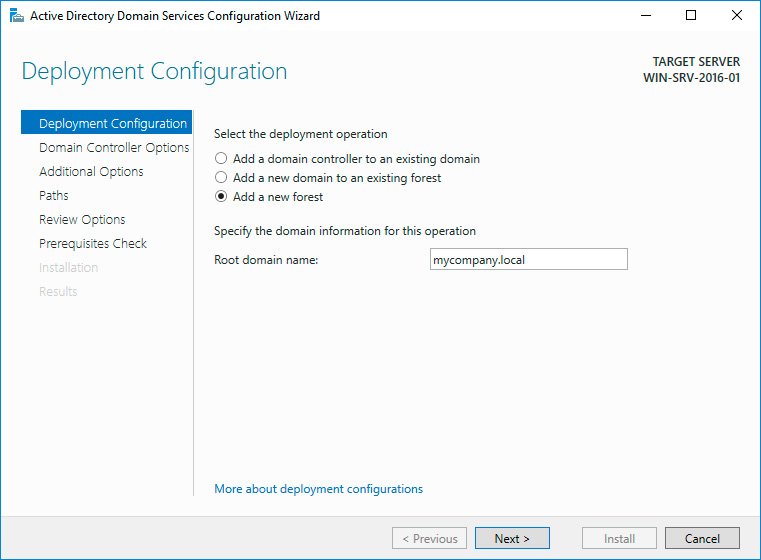
As I have already mentioned, Active Directory has a hierarchic structure. As we had no Active Directory in our network before, chose “Add a new forest” radio-button, and specify your domain name
Provide a good password on the next page, and hit “Next”
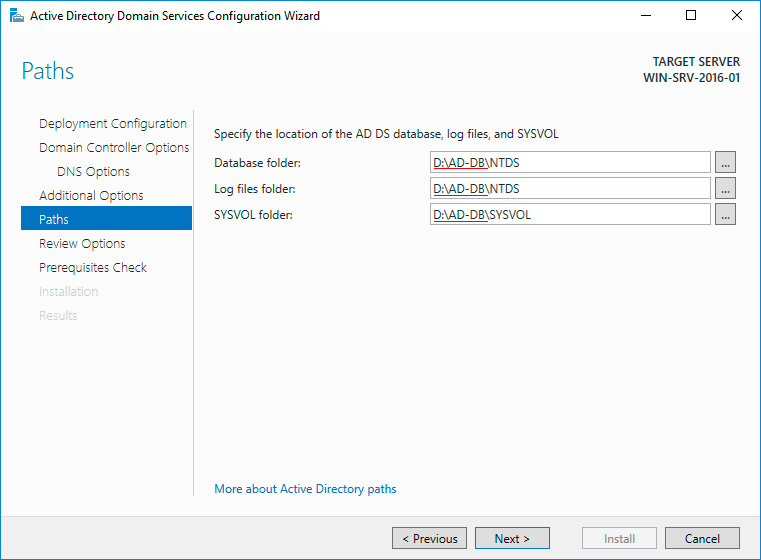
We can use default settings on the next two pages
There is nothing for us to do on the next two pages, so hit “Next” till you are on the “Prerequisites Check” page and press the “Install” button here.
This will also take a while and your server reboots itself after installation.
Now you are ready to log in into your Primary domain controller server
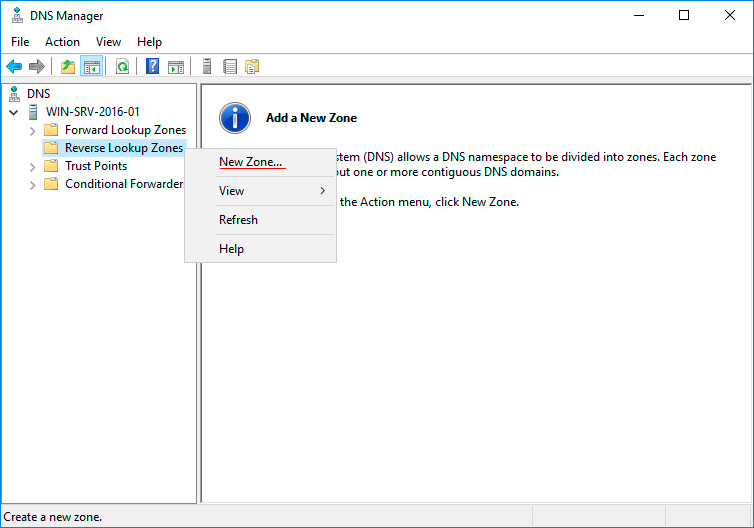
The last step is to add a reverse lookup zone to your DNS Server to make it working properly:
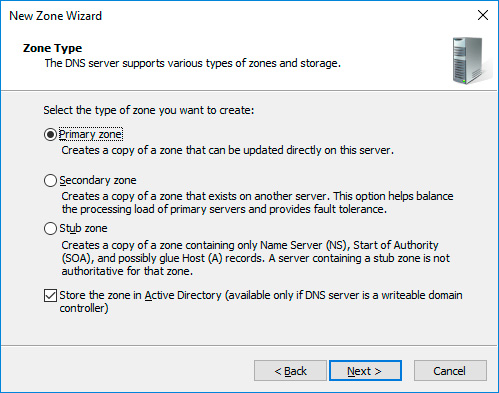
Press “Next” on the welcome screen of the wizard and leave “Zone Type” as “Primary Zone”:
We can leave the next two pages “as is”, and specify your Local Area Network address after:
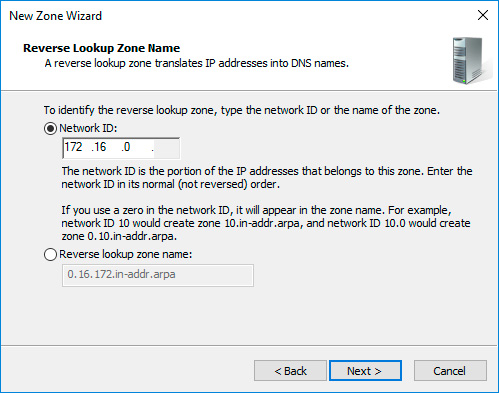
We can use the default setting on the next page and hit “Finish” on the last one.
Congratulations, now you have your Active Directory up and running!